
Introduction
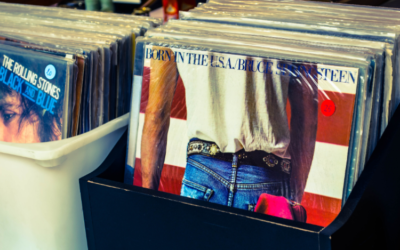
Vinyl records are all but dead – this is (yet again) a wonderful time to be alive, mainly because there’s a totally new vinyl market. Innovative artists and manufacturers have devised new machines and contraptions that will help us enjoy our vinyl records more easily, and one of these inventions is the digital audio rip software.
We’ll talk about what exactly is this software, what are the benefits of digital ripping, and how to actually do it, so if you’re interested in this, just continue reading.

What is Digital Rip
A digital rip is basically a conversion of vinyl record’s data to another type of format. Usually, most people settle for .MP3, as it’s one of the standard digital formats that most machines recognize and support.
There are some record players that come equipped with this software, but you can always purchase it online. It’s virtually impossible to digitally rip vinyl record’s data without this software though.
What are the benefits of digital ripping – Why should you do it?
There are a lot of benefits of digital ripping your vinyl records, but we’ll mention the ones that are absolutely the most important.
- Increased compactness
Vinyl records are usually quite large, whereas the CDs and DVDs where you will convert the data are much more compact. A vinyl record may fit inside a larger bag, but you can always store a digitally rip CD in a pocket of your jacket, for example.
The increase in compactness is definitely one of the major benefits of digitally rip vinyl records, but it’s considered to be less important than the other two we’re about to see.
- More versatility
In the case that your record player breaks down, you’ll be left without your music friend until it’s repaired (or until you buy a new one). In any case, you won’t get to enjoy your record players. If only you had a copy of your favorite vinyl record on a CD or DVD, you could still enjoy your music.
More versatility also means that you’ll be able to throw parties where you can playback your vinyl records on your PC or laptop. Now, there are record players that are compatible with external speakers, but there are those that aren’t. PCs and Laptops, on the other hand, can reproduce music at an increased volume.
- Increased dynamic range
Hard pressed vinyl records go through rough compression when they are mastered. The only way to compensate for the lack of volume is to digitally rip your records. This way, the dynamic range will receive a significant boost, improving the general sound quality of your records.

Digitally Ripping your Records – How to do it?
Equipment
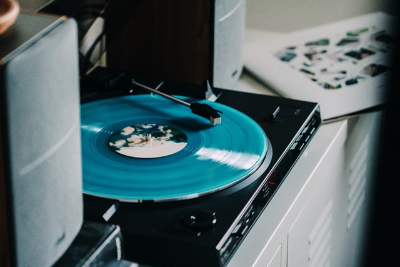
For starters, you will need a record player that comes supplied with software that allows you to digitally rip your audio.
Next, you’ll also need a recording software. You can purchase this software online, or you can get free (or trial) versions. Some good examples of free software are Audacity, Garageband, and such. There are also some high-end recording software that makes the entire process extremely simple, such as Vinyl Studio, but you should be prepared to pay top dollar.
Setting Up
Before all else, you’ll need to prepare the record player. The setting up of your gear is much similar to the setup of, you just can’t reproduce a good sound if your gear is old and unconditioned.
Make sure to clean all of the parts thoroughly, and to correctly align the stylus, needle, and the cartridge. Your turntable needs to be in tip-top condition if you want a digital rip to succeed with optimal performance.
Furthermore, if you’re unsure on how to properly setup your record player, consider paying a visit to a specialist. These professionals will gladly setup your turntable for you (for a fee, of course).
Recording your digital rips
After you’ve cleaned your record player and records, don’t forget to properly attune your turntable. If you’ve already done with all this, you can proceed to recording your digital rips. There are a few steps you’ll need to follow:
Step 1 – Wiring your turntable to a pre-amp
This step is relatively easy – just plug the pre-amp into your record player and you can proceed onto the next step.

Step 2 – Line-in the inputs
All of the inputs should be set to the “line level”. There’s a good way to recognize a mistake in the early stages – if there’s any distortion, you missed some inputs.
Step3 – Software setup
This process includes installing the software and preparing it for work. During the installation process, you will be prompted to fill in several blanks, such as the soundcard you’re using, sample rate, playback pre-roll, metronome, synchronization, and such.
Step4 – Creating the stereo channel & Recording
This step is relatively easy – most software types will have drop-down menus that allow you to create a channel” and “record”. Execute both actions respectively and you’re almost done.
Step5 – Export & finish
Once you export the files, you can review them for any mistakes. If there are none, you’ve successfully ripped your records.